You’ve found the perfect image—a logo, a doodle, a piece of clipart—and you can already picture it stitched onto a hat or a tote bag. You load it onto your Brother embroidery machine, hit start, and… nothing happens. Your machine doesn’t recognize the JPG or PNG file. This is the universal first hurdle for every embroiderer. The solution is to translate that image into a language your machine understands: the .PES file format. The promise of an easy way to Convert Image to PES File is incredibly appealing. While "easy" has its limits when it comes to quality, there are absolutely straightforward methods to get you from a picture to a stitch-out without needing a degree in digitizing. This guide will walk you through the most accessible paths, clearly explaining what works, what doesn’t, and how to get the best possible results from your starting image.
Understanding the "Conversion" Myth
First, let’s set a crucial expectation. You are not simply changing a file extension like renaming mylogo.jpg to mylogo.pes. That will create a corrupt file. An image file (JPG, PNG) is a grid of colored pixels. A PES file is a detailed set of instructions: coordinates for needle drops, stitch types, trim commands, and color changes.
The process of creating these instructions is called digitizing. It’s a skilled craft. So, when we talk about "easy conversion," we're really talking about tools that automate parts of this digitizing process with varying degrees of success. The simpler the image, the better these "easy" methods will work.
Method 1: The "Easiest" Route: Online Auto-Digitizers
This is the fastest method, often taking less than five minutes. It’s ideal for very simple, high-contrast images like solid silhouettes, bold logos, or basic text.
How it Works:
Search for an online embroidery file converter (terms like "auto-digitize online" or "image to PES converter" will bring up options).
Upload your image. The cleaner and simpler, the better.
Adjust basic settings if available, like number of colors or stitch density (often labeled "detail").
The website's algorithm traces your image and attempts to create fill and satin stitch areas.
You download the generated .PES file.
The Reality Check:
Pros: Incredibly fast, often free or low-cost, no software to install.
Cons: Results are a gamble. The algorithm has no understanding of fabric, leading to no underlay (causing puckering), poor stitch paths, and overly dense fills. It’s a literal, mindless trace.
Best For: One-off, personal projects on stable fabrics where perfect quality isn't critical. Always test-sew on scrap fabric first.
Method 2: The "Best Balance" Route: Free Software with Auto-Tools
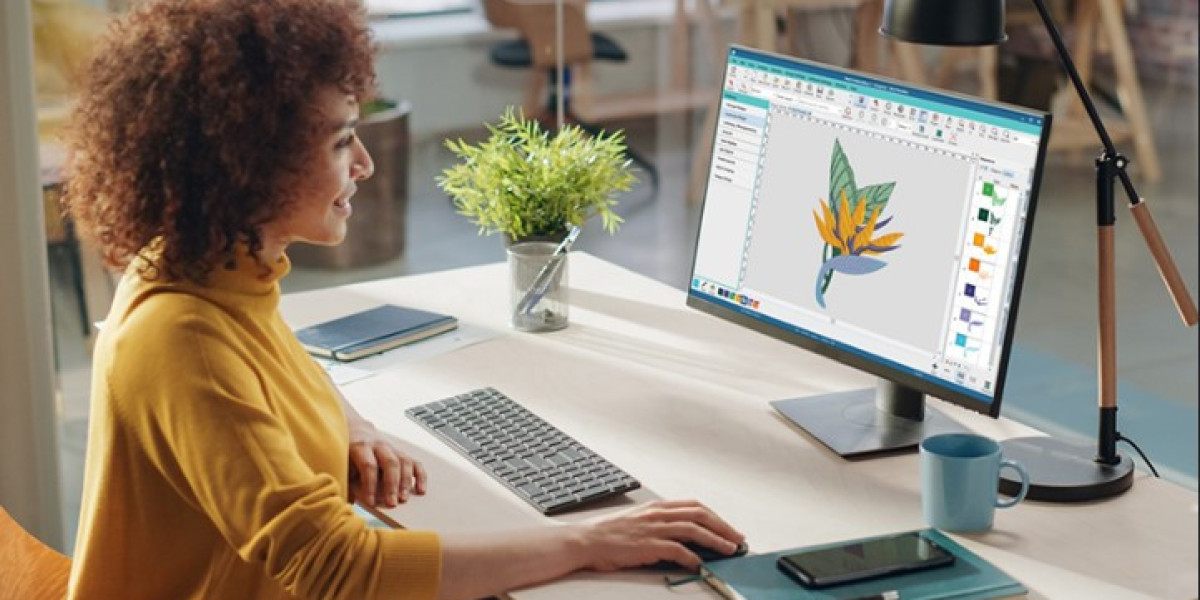
This method gives you more control than a website, leading to significantly better results. The champion here is Ink/Stitch, which is a free, open-source extension for the free vector program Inkscape.
Step-by-Step Easy Workflow with Ink/Stitch:
Download the Free Tools: Install Inkscape, then install the Ink/Stitch extension (instructions are on the Ink/Stitch website).
Prepare Your Image in Inkscape:
Import your image.
Use the built-in Trace Bitmap tool (Path > Trace Bitmap) to convert your raster image into vector paths. This step is crucial for clean lines. Play with the threshold settings until you get a clean outline.
Use Ink/Stitch to Auto-Digitize:
Select your vector shape.
Go to
Extensions>Ink/Stitch>Params.Here, you can assign an auto-stitch type. For simple shapes, using "Fill" or "Auto-Route Satin" can generate a basic stitch file.
You can adjust global settings like fill stitch density—a great start is 0.40mm.
Export Your PES File:
Go to
Extensions>Ink/Stitch>Embroider.Preview the generated stitches.
Use the "Export" tab to save your file as a .PES.
Why This Method is Better: You’re using vector paths, which are cleaner than a pixel trace. You have manual control over stitch type and density. It teaches you the basics of the digitizing workflow. While still auto-generated, the results are a major step up from an online converter.
Method 3: The "Easy Professional" Route: Software Free Trials
This is your secret weapon for a high-quality "easy" conversion without long-term cost. Professional software companies offer full-featured free trials.
Wilcom Hatch: Offers a 30-day free trial of its full, industry-respected Hatch software. This is not a limited version.
Embrid: Often has a 30-day trial for its digitizing modules.
How to Use This Wisely for Easy Conversion:
Sign up for the Hatch trial during a period where you have a few projects lined up.
Use the superb auto-digitizing and image-tracing tools inside Hatch. They are far more advanced than free online tools.
The software provides easy sliders to adjust complexity, density, and stitch types in a user-friendly interface.
You can generate a professional-grade .PES file within the trial period. The learning curve is gentler than you think for basic conversions.
This method gives you a truly high-quality "easy" conversion because you’re using professional algorithms and can then make simple, intuitive adjustments.
The Golden Rule: Test Sew EVERYTHING
No matter which "easy" method you choose, this step is non-negotiable. Never run your newly created PES file directly on your final project garment.
Hoop a scrap piece of the exact same fabric you plan to use for the final item.
Use the exact same stabilizer.
Run the design.
Analyze: Is it puckering? Are stitches too loose? Are details missing?
This test tells you what adjustments you need to make back in your software.
Pro-Tips for Success with Any Method
To make any conversion easier and more successful, follow these rules:
Start with the Right Image: Choose images with clear edges, high contrast, and minimal detail. A simple black silhouette on a white background is the ideal candidate. Complex photos of faces or landscapes will fail with easy methods.
Simplify Before You Start: Use basic photo editing software (even free online ones) to increase contrast, remove backgrounds, and eliminate tiny details before you even attempt to convert.
Size Appropriately: Know your target stitch size. An image crammed into a 1-inch hoop will lose all detail. Easy digitizing works best with bold, appropriately sized designs.
Embrace the Edit: Even in free software like Inkscape, use the node editor to smooth out jagged lines in your vector trace before sending it to Ink/Stitch. Five minutes of cleanup here saves an hour of frustration later.
When "Easy" Isn't Enough: The Professional Service Shortcut
Sometimes, the truly easiest path is to outsource. If your image is complex, detailed, or for a business logo, using a professional digitizing service is the most reliable "easy" button.
You upload your image, specify size and fabric, and for a small fee ($10-$25), a human expert creates a flawless, optimized PES file for you. This saves you hours of trial, error, and wasted thread and fabric. It’s the easiest way to guarantee a perfect result on the first stitch.
Conclusion: Your Path from Pixel to Stitch
Learning how to Convert Image to PES File easily is about matching the right tool to the complexity of your project. For fun, simple projects, free tools and online converters offer a fantastic gateway into the world of digitizing. For better quality without the price tag, free software trials are your best friend. And for guaranteed, professional results, a digitizing service is the ultimate easy solution.
The key is to start simple, manage your expectations, and never, ever skip the test sew. Each project will teach you more about how images translate to thread. So, choose your method, hoop up some scrap fabric, and start experimenting. The journey from a simple image on your screen to a physical, stitched creation is incredibly rewarding, and now, it’s more accessible than ever.